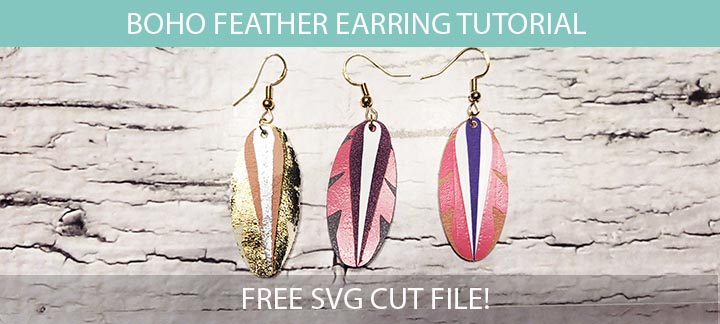
These earrings are a mix of boho and tribal design to make a feminine feather design. The layers are cut out using different color vinyl and stacked on top of each other so they will swing as you move. These feather earrings would look great in the summer with a beachy outfit or to an outdoor concert.
My post contains some affiliate links so if you make a purchase after clicking on a link I may receive a commission but it will not cost you anything. Read my disclosure here.
To get the free SVG file to make some fun earrings just use the newsletter sign up form below and the SVG cut file will be sent directly to your inbox. Find lots more free SVG’s here.
Check out these other free earring SVG files on my blog:
If you want to read a detailed post check out the Ultimate guide to faux leather earrings on how to make faux leather earrings with your Cricut machine and also about what tools you need.
If you are looking for some ready made SVG cut file for crafting than check out my SVG shop. Here you can find lots of SVG files for making a variety of crafts! Click the link here to take a look.
After you’ve downloaded the free SVG cut file, open up Cricut Design Space. Than press the “Upload” in the bottom left corner.
Step 2
Once the file is uploaded you will see it in your “Recent Uploads” section. Select the file and then press “Add to Canvas” in the bottom right corner.
Step 3
Now you will see the file in the Canvas area. Press the “Ungroup” button and then turn off any layers you don’t want to cut.
Step 4
I recommend just cutting out one layer at a time so that you if you make a mistake you don’t waste any material. When you are ready to cut press the “Make it” button in the top right.
Step 5
On the prepare screen you can move the design where you want it to cut on the canvas. When you are satisfied press the “Continue” button.
Step 6
On the Make screen you can now select the cut setting. I selected “Faux Leather (Paper thin)” and put the pressure to more.
When cutting the heat transfer vinyl I used the “Vinyl” setting and put the pressure to “More”
Step 7
Cut the faux leather to the size you will cut out. This will help keep your mat clean and prevent the fabric from shifting. I also cut a peice of transfer tape to the same size. This is to put between the fabric and mat to help keep the mat clean.
I recommend using the purple mat for the faux leather and the green mat for the heat transfer vinyl.
Step 8
Here you can see all the layers cut out. There are two layers cut out of faux leather and two layers of heat transfer vinyl.
Step 9
Now place the heat transfer vinyl on top of the faux leather. You can use a peice of heat tape to hold it in place. Iron it between two layers of teflon sheet or parchment paper.
Below you can see the heat transfer vinyl attached to the faux leather.
Step 10
Now stack the earring layers onto a jump ring and add the earring hook. Than twist the jump ring to close.
All done!
Now your earring is complete.
I hope you enjoy this SVG cut file and use it to make lots of fun earrings.
Hi I'm Catherine and I'm so glad you've decided to stop by and make stuff with me! My blog is full of fun project for kids and busy parents.
View all posts by Catherine


