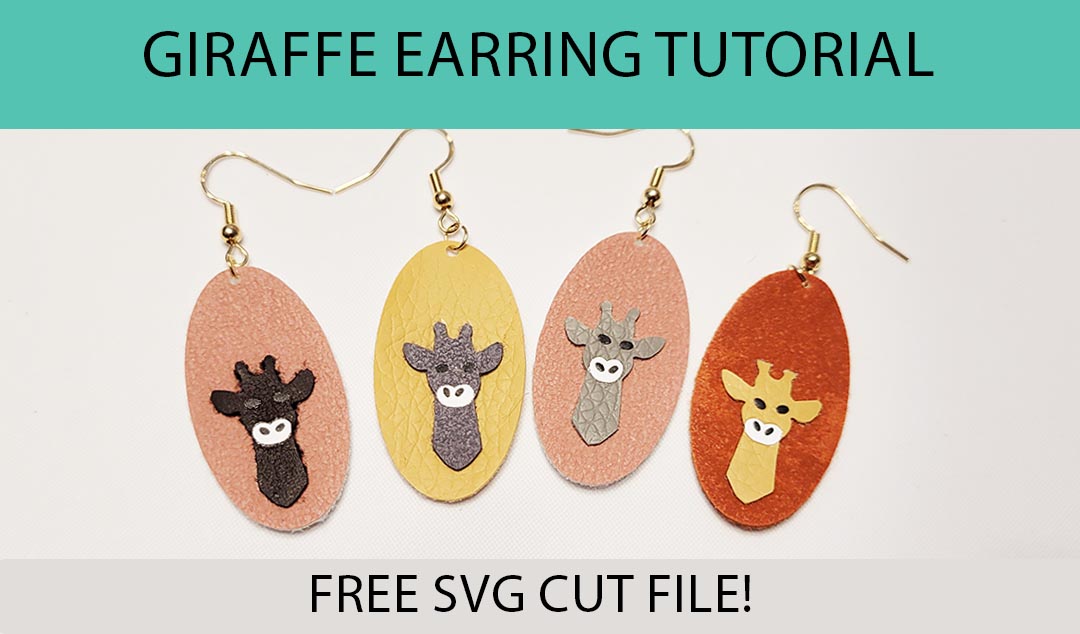
These gorgeous giraffe earrings are super fun addition to your earring collection. Make yourself feel like you are going on safari and enjoying the warmth of the sun in the grasslands of east Africa. These earrings are fun to make with faux leather vinyl and make the giraffe head with heat transfer vinyl. These charming earrings are sure to please.
My post contains some affiliate links so if you make a purchase after clicking on a link I may receive a commission but it will not cost you anything. Read my disclosure here.
To get the free SVG file to make some fun earrings just use the newsletter sign up form below and the SVG cut file will be sent directly to your inbox. Find lots more free SVG’s here.
If you are looking for more free earring svgs files than check out a few of these links:
If you are looking for some ready made SVG cut file for crafting than check out my SVG shop. Here you can find lots of SVG files for making a variety of crafts! Click the link here to take a look.
After downloading the free SVG cut file, open up Cricut design Space. Select the “Upload” button in the bottom left. You should find the file in your download folder.
Step 2
You will now see the file in your “Recent Uploads”. Select the file and then select “Add to Canvas”.
Step 3
Now in the Canvas screen you will see the file displayed. Here you can turn off any layers you don’t want to cut. I recommend cutting them one at a time.
The oval background and the giraffe head will be cut out of faux leather using the purple mat. And the eyes, nostrels, and nose will be cut out of heat transfer vinyl using the green mat. You will also cut out one of the giraffe heads using heat n bond and the blue mat.
Step 4
When you go to cut out the nostrils and eyes make sure to select all the layers and then press attach. This will make sure that they cut in the same position and will make it easier later when you iron them in place.
Step 5
Place the design where you want it to cut on your cutting mat. Than press “Continue”.
Step 6
On the “Make” screen you can select the material setting. For the faux leather I recommend the “Faux Leather (Paper Thin)” setting and use the purple mat. For the heat ‘n bond I recommend using the “Everyday Iron-On” setting and the blue mat. For the heat transfer vinyl I recommend the “Vinyl” setting and use the green mat.
Step 7
I recommend cutting out the fabric to just the size you will be cutting . And it can be helpful to put transfer tape on the good side to help it stick to the cutting mat and keep your mat clean.
Step 8
Here you can see all the layers cut out. The background oval and giraffe head are cut out of faux suede. The second giraffe head is cut out of heat n bond. The eyes and nostils and nose are cut out of heat transfer vinyl.
Step 9
First place the white nose on top of the giraffe head and you can use heat tape to keep it in place. Place a peice of teflon paper on bottom and on top. And set iron to low and press for 5 seconds. Let the peice cool before removing the plastic sheet.
Step 10
Next place the eyes and nostrils on top and press again.
Step 11
Now turn the giraffe head over and place the heat n bond shiny side down. Iron between teflon sheets for around 5 seconds. Once cool remove the paper backing.
Step 12
Now place the giraffe head on the oval background and press between 2 peices of teflon sheets for around 10 seconds. Leave to cool before handling.
Step 13
Now twist open a 4mm jump ring and layer the oval and an earring hook. Now twist the jump ring to close.
All done!
Now your earring is complete and you can finish a second one to make a pair.
I hope you enjoy this SVG cut file and use it to make lots of fun earrings. If you enjoyed this tutorial please share it on pintrest using the images below.
If my free content has helped you in any way and you would like to say ‘thank you’, I would hugely appreciate a small donation towards my work and the running costs of this blog. Any contribution is greatly appreciated! Buy me a coffee.
Hi I'm Catherine and I'm so glad you've decided to stop by and make stuff with me! My blog is full of fun project for kids and busy parents.
View all posts by Catherine


