After tackling some beginner projects with your Cricut you may have been wanting to get creative and try making your own designs. Illustrator is my go to program for creating my own design that I later turn into SVG cut files to use in Cricut Design Space. If you already have this software and feel comfortable using it than making your own SVG files should be an easy new skill to learn.
My post contains some affiliate links so if you make a purchase after clicking on a link I may receive a commission but it will not cost you anything. Read my disclosure here.
I’ve been using Adobe Illustrator for over a decade and love the software. But there are other softwares you can use to design SVG files including Design Space and free softwares like Inkscape.
It’s best when starting out to choose an easy design such as a simple text or just a black silhouette image. More complicated designs include multi color or overly detailed designs.
I will be demostrating on a MAC and the design process for PC may be a bit different. These files can also be used with both a Cricut or Silhouette or any machine that uses SVG cut files.
If you want to dive right in a learn step by step how to make unique design than check out my new book “Make your own SVG cut file with Adobe Illustrator“.
Sign up to my newsletter below to get the free cheat sheet on how to Make SVG cut files in Adobe Illustrator. So you can print it off and keep it as a quick reference next to your computer.
What do you need to create a SVG file?
- A Computer
- Adobe Illustrator
- Cricut Design Space
- Cricut Cutting machine
Once you create your own SVG image you will be able to import them into Cricut Design Space. Check out this blog post here to learn how. And if you are still new to Cricut Design Space and want to learn more about navigating the software than check out this blog post here.
Using Illustrator to make design files Pros and Cons
Pros
- You can make designs from scratch
- Your designs will be your own
- You can share your designs or sell them
- You can export your designs to other formats .dxf, png etc
Cons
- There is a learning curve to the software
- May not be suitable for beginners who are not confident with their computer skills
- The Adobe Illustrator program is not free. You must sign up for a monthly fee.
Making an SVG file in Adobe Illustrator
Step 1
With Adobe Illustrator, open a new document. Make the dimensions 12 inches by 12 inches. Then press the “create” button.
Step 2
Now select the text button and add some simple text. I recommend not using a complicated font for starting off. If you are making a design for sale make sure it is permited for commericial use.
Step 3
Now you want to outline the text. This function changes the font into a shape. To do this go select the font than go to Font>Create Outlines.
Step 4
Now at this point you can manipulate the design just like a shape. At this point you can move the text up or down etc. I do a lot of my designing at this stage. But for simplicity sake I will leave the design as is.
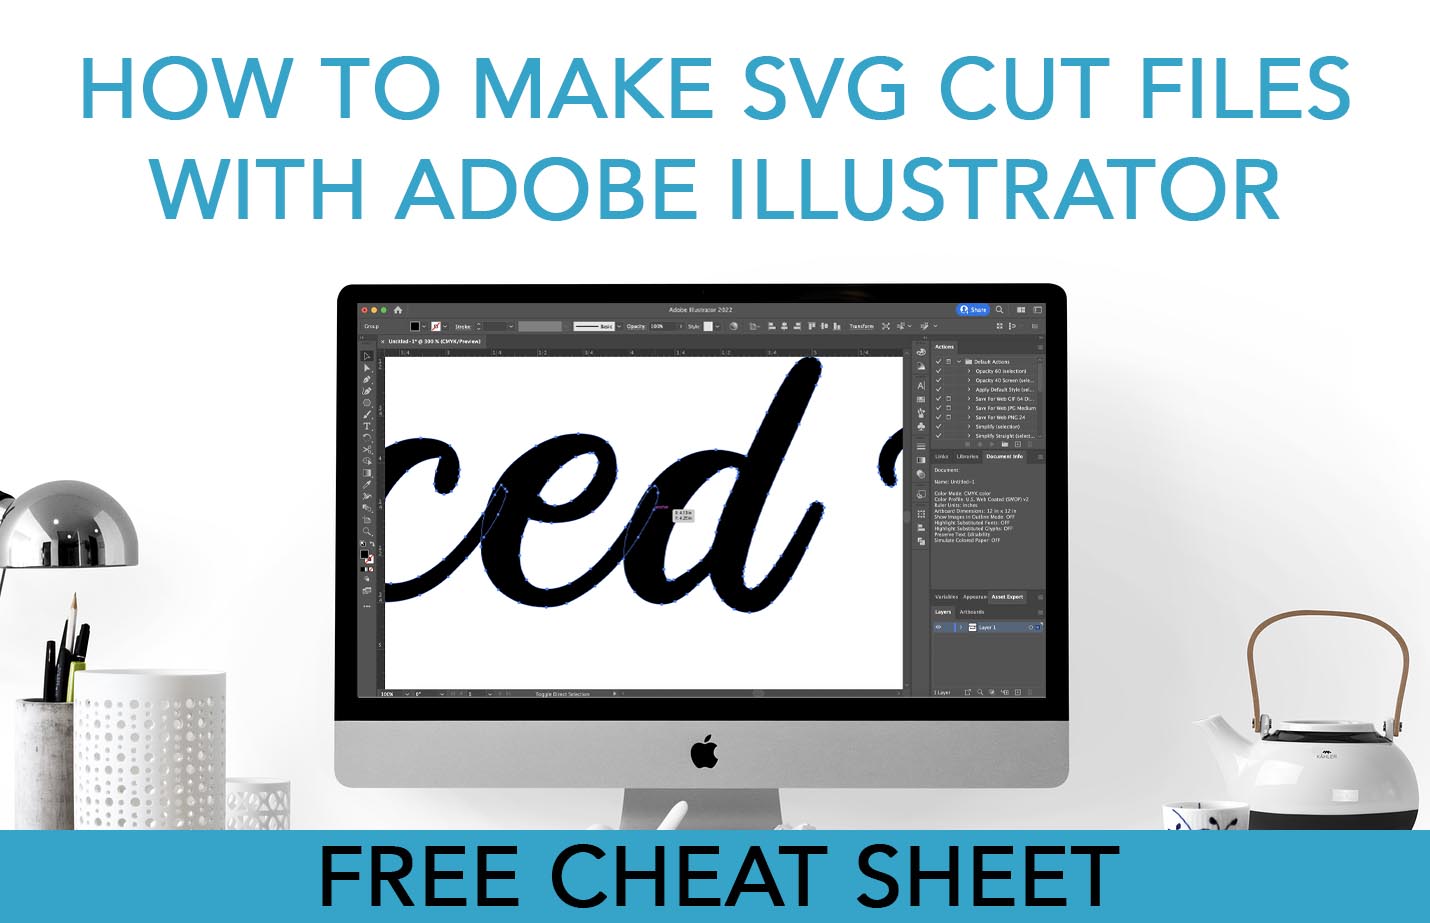
If you zoom in you will see that each letter is an individual shape so the next step is to merge it into one giant design. Because your cutting machine will cut along the blue line so you want it to cut out as one shape.
To join the shapes you will use the Pathfinder function. Do do this select all the shapes than on the right choose the pathfinder function and select unite.
If you can’t find the pathfinder function on the right than go to the top menu bar and select Windows>Pathfinder>Unite.
Step 5
Now you need to save your design as an SVG. It’s important to use the “Save as” function and not to use the “Export” option.
Than add the name of your file and select the “SVG” file option from the drop down menu.
Now your file is ready to be uploaded to Cricut Design Space. If you need help with that make sure to check out my blog post here to learn how to upload an SVG to Cricut Design Space.
What can you use SVG cut files for?
If you found this blog post interesting and what to learn more than check out my new book “Make your own SVG cut files with Adobe Illustrator” in my shop.
If you are looking for some ready made SVG cut file for crafting than check out my SVG shop. Here you can find lots of SVG files for making a variety of crafts! Click the link here to take a look.
I hope that you found this tutorial useful and it will help you to create lots of designs to use with your Cricut or Silhoutte machines.
If you enjoyed this post please share it on Pintrest using the image below.


