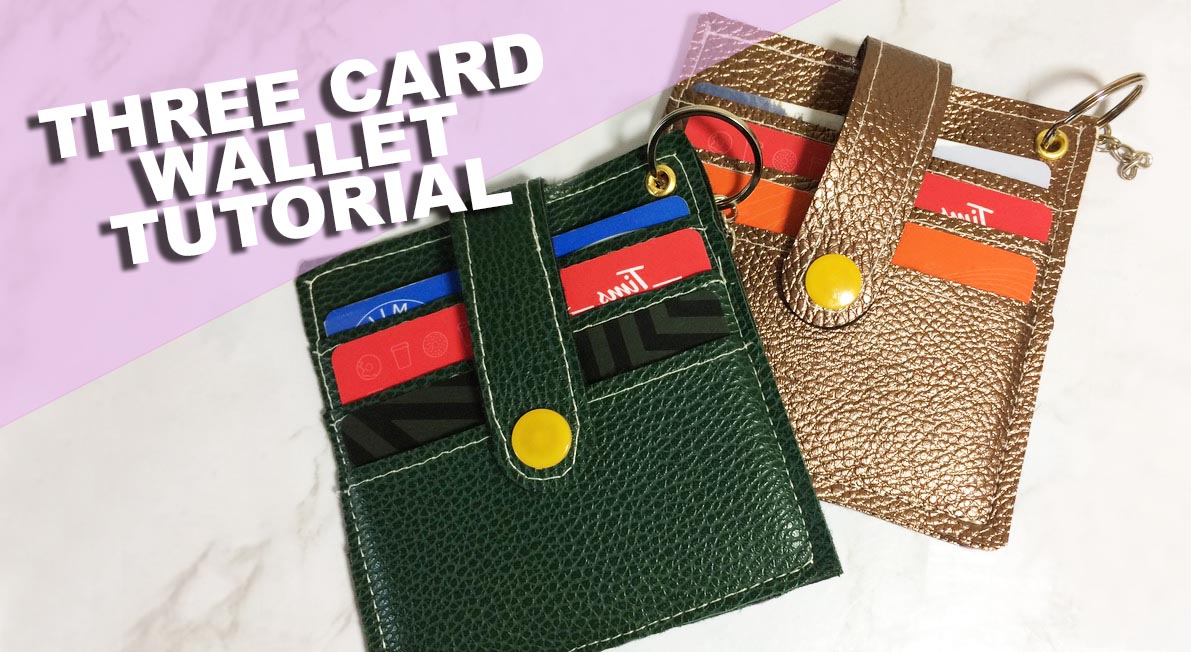
Card wallets are a great way to carry around your cards without having to bring your heavy purse with you. You can easily place them onto a wristlets like this one here. Throw it in your purse and when you need to whip into a shop just grab the card wallet and you can leave your purse in your car. This card wallet is easy to sew in just around an hour. You can find the pattern in my etsy shop here. Follow along with the tutorial below to see step by step how to cut out and assemble the pieces.

My post contains some affiliate links so if you make a purchase after clicking on a link I may receive a commission but it will not cost you anything. Read my disclosure here. Free patterns are for personal use only
You can make these wallets with any stiff fabric, I used a craft vinyl that has an animal skin texture but there are many different colours and patterns. I’ve created a simple pattern that anyone can use, this is a fun tutorial for people who are just learning how to sew since it just uses straight lines.
This pattern is easy to use you can purchase it from my etsy shop and after you will receive the instant download. The file includes svg, png, dxf, and ai. Most people upload either the dxf or svg file depending on their machine and personal preference.
Step by step guide
Step one
Visit my etsy store to purchase the file. You can use it to cut out the fabric with your cricut or print it out and use it to make patterns to trace by hand.

Step two
What my YouTube tutorial so you can review how to assemble the pieces before getting started. This will be a useful reference if you have extra questions along the way.
Step three
Gather all the material you will need to complete the three card wallet pattern.

Here is an amazon list of the products I used to create the wallets.
- Craft leather
- Sewing machine
- Thread
- Craft punch
- Snaps
- Snap tool
- Eyelets
- Key ring
- The pattern from my etsy shop
- Cricut machine
- Cricut cutting mat
Step Four
Place your craft leather on your cutting mat and make sure to pay attention to the dimensions. You many need to move the pieces around in your software so that they can all be cut out at the same time. Because of the large size of the file you may need to cut the pieces separately.

Step Five
Upload the file to cricut design space and then press the make it button to send the pieces to the printer. You may need to move around the pieces to make sure they will cut properly on the fabric you have. Make sure to check that the pieces will fit into the same size as your fabric. You may need to hide a piece and cut it on a second pass since there are many file peices.

Step Six
Choose the correct setting for the fabric that you uploaded to your cricut. I chose the heavy fabric setting to work with the craft leather I used. The design space will instruct you on the correct blade to load. Once you are ready just press the flashing button to cut out your fabric.

Step Seven
Set your sewing machine to a large stitch. I set mine to 3.5 which is wide. Aftwerwards set the speed to the slowest. You will get the nicest stitches if you sew slowly and pay attention to each stitch.

Step Eight
Place the front and back sides of the tabs wrong wide together and then top stitch along the edge. Taking your time to go slowly and turn stitch by stitch around the curved part.

Step Nine
Top stitch along the top of the 3 smaller rectangles but not the largest one. This will give the wallet a nice professional appearance.

Step Ten
Now place the two largest rectangles together, wrong sides facing. Sew along the top. The top is along the short edge. If you look at the rectangles you will see there is a longer side and a shorter side, you want the longer edge running vertical top to bottom. This is a good time to sew in the tap, sandwich it between the two rectangles.

Step Eleven
Stack the cut out pieces from largest to smallest on top of each other. Then take the two taps and put them on top of each other and then sandwich them between the top of the two largest pieces. When you sew along the top you will sew the tabs in place. Just place them around 4 mm inside, just enough for the sewing machine to catch. It can be easiest to sew along the top to keep the tab in place and then sew along the edges.

Step Twelve
Now that you’ve sewn along the top and attached the tabs, sew along the bottom so that you can keep all the layers together.

Step Thirteen
Sew along the sides from bottom to top so that the layers lay flat while you sew. Sew each side.

Step Fourteen
If there is any over hang or pieces that didn’t line up, take a pair of sharp scissors and trim away the excess fabric.

Step Fifteen
Place a plastic snap on the tab so that you can eye ball where to place the hole. Once you are ready take a hole punch and carefully punch a hole in the centre for the snap. Use the snap tool to attach the snap to the wallet.

Step Sixteen
Fold the snap over to eye ball where to place the opposite side of the snap. Afterwards use a hole punch to create a hole for the snap. Use the snap tool to attach the snap to the wallet.

Step Seventeen
Select a and hold it up to the corner of the wallet to eye ball where to place a hole. The eyelets need to be set farther from the edge than you may expect. Afterwards hole punch and place the eyelet in the hole. Then use the eyelet tool and a hammer to attach it to the wallet.

Step Eighteen
Take a keychain and attach it to your wallet. This is a handy way to attach your card wallet to a key chain or wristlet to make it easy to crab your cards and leave you purse in your trunck when you go shopping so you have less to carry around.

Step Nineteen
Now your wallet is complete. You can make lots of card wallets now for gifts or create some with your kids. This is a fun and easy sewing pattern that anyone can do.


If my free content has helped you in any way and you would like to say ‘thank you’, I would hugely appreciate a small donation towards my work and the running costs of this blog. Any contribution is greatly appreciated! Buy me a coffee.
