If you are hosting a baby shower than you may be inspired to create your own designs using your cricut machine. It’s super easy to make paper tags to decorate favor candies and gifts. All you need is a printer, cardstock and your cricut machine. I’ve created a free pattern for both baby boys or girls and you can get it for free in this blog post.
My post contains some affiliate links so if you make a purchase after clicking on a link I may receive a commission but it will not cost you anything. Read my disclosure here.
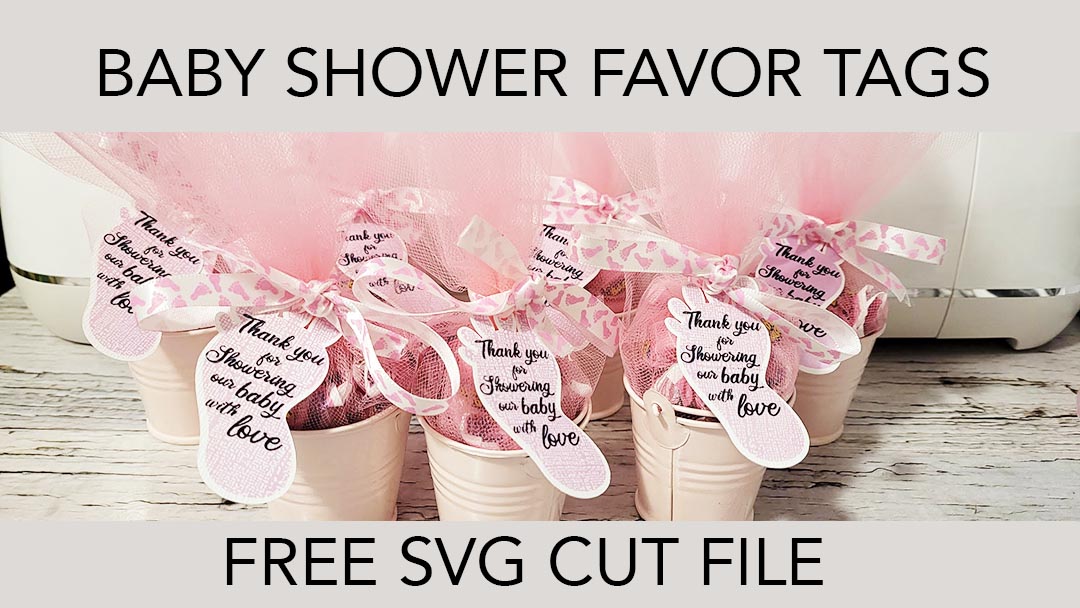
This tag design is a cute little baby foot print that has some prewritten text on it. In the download you can find both the blue and pink designs.
The bottom of the tag as some extra space where you can add your own text. For example you could add your babies future name or the date.
If you want to see more baby shower designs and tutorials check out the list below:
First open up Cricut design space. Than select the “Upload” button on the bottom left corner. Select the free svg file from your computer. You will probably find it in your downloads folder.
Step two
Now you will see the design displayed in “Recent Uploads”. Select the design and press the green “Add to Canvas” button in the bottom right.
Step three
Now you will see both the blue and pink design. If you want to delete one to work on only one color press the “Ungroup” button until the designs seperate. Than delete the design you don’t want.
Step four
Select the bottom layer that has the foot background shape and change the color to white.
Step five
Now select all the layers and press the flatten button in the bottom of the right panel.
If you want to print off more than one tag at a time you can duplicate the layers. Just keep in mind that the print and cut function can only work with designs witin 9.25″ x 6.75″.
When you are satisfied with the design press the green “Make it” button in the top right corner.
Step six
In the prepare screen you can now move the designs around so that it will print exactly where you want them to print. Keep in mind the dimensions of the paper you will be printing on.
When you are happy with the layout press the green “Continue” button in the bottom right corner.
Step seven
In the “Make” screen you can now print and cut your design. First select the “Send to printer” green button and select your printer from the pop up window.
Once your design has been printed you can now select your paper type. I have selected the “Medium Cardstock” but you need to choose what works best with your chosen material.
Now follow the instructions for the tools section on which tools to load depending on your print settings.
Step eight
Now you can place the cardstock onto your blue sticky mat. If you want you can use painters tape to hold the paper in place more securely.
Once loaded into the Cricut machine press the “C” button to cut out.
All done!
Now your tag is cut out and its ready to use to decorate you baby shower favors.
How to assemble the baby favor
I bought this Tulle at my local walmart and it measures 6″ wide. I cut the fabric into 18″ lengths and I cut two peices for each favor.
I placed the two peices of tulle into the mini bucket crosswise. And then place 10 peices of the pink candy into the bucket.
I gathered the tulle together and than wrapped a peices of thread around the top to gather the the tulle into a bundle. This will make it easier to work with the ribbon later on.
I cut my ribbons to 18″ long. In the image below you can see I now have all the peices completed and ready to assemble.
Thread the ribbon through the tag before tying the ribbon into a knot, from the back to the front. Now you can tie the ribbon into a pretty bow.
Now you can repeat these steps to make lots of cute baby shower favours!
If you enjoyed this project please share on pintrest using the image below.
Hi I'm Catherine and I'm so glad you've decided to stop by and make stuff with me! My blog is full of fun project for kids and busy parents.
View all posts by Catherine


